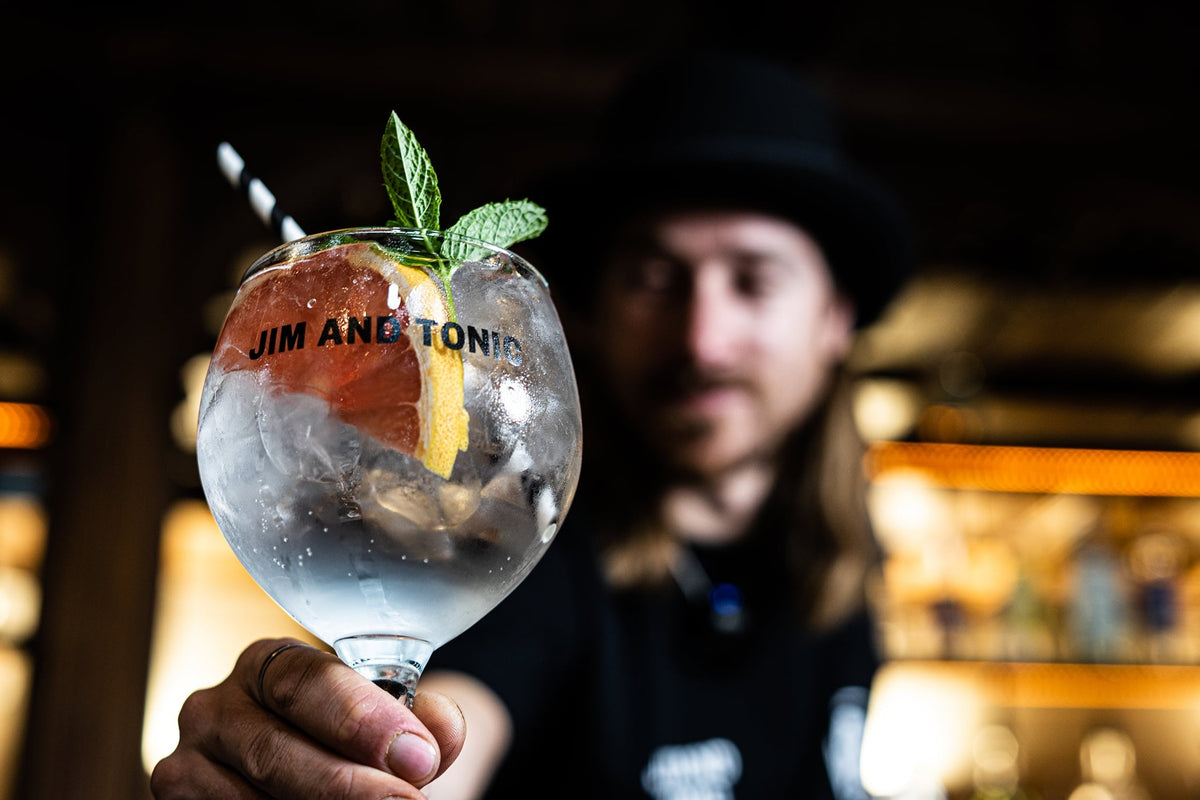
7 simple hacks to make the perfect Gin and Tonic at home
|
|
Time to read 2 min
|
|
Time to read 2 min
It's important to use a glass with a stem so your hand doesn't warm up the part of the glass where your lovely chilled gin and tonic is.
The shape of the copa balloon glass is also important.
The large balloon/bowl shape condenses all of the flavour and aroma of your gin and tonic right under your nose.
The large capacity of a copa balloon glass also means you can fill your gin and tonic with lots of ice (more on that in the next steps!...)
You can do this by adding in ice and giving it a stir around for about 5-10 seconds until it's nice and cold.
If you don't have enough ice to do this then simply stick your glass in the fridge or freezer for a bit before serving your gin and tonic!
We add the gin first because temperature is key to a good gin and tonic.
Don't skimp on the ice here.
It's a common misconception to think that less ice means a less diluted gin and tonic.
Wrong!
Actually, the more ice you add, the more the temperature remains colder for longer, meaning a super-chilled gin and tonic that's not diluted!
On the contrary, imagine adding just one ice cube, it's going to melt pretty sharpish and spoil your gin and tonic!
As we've added 50ml of gin previously, we want to go for a 1:3 or a 1:4 ratio of gin to tonic.
This means you want to pour in 150ml or 200ml of tonic depending on how strong you want it to taste.
We don't think it makes a huge difference and you really can't go wrong with either 1:3 or 1:4 ratio!
Maybe start with a 1:4 ratio and slowly creep down to 1:3 to see if you have a preference for your perfect gin and tonic!
Don't be too vigorous as you don't want to turn your tonic flat!
The trick here is to enhance the botanicals in your chosen gin.
E.g. let's say it's a Mediterranean Gin which is distilled using rosemary and orange peel. Try garnishing your gin and tonic with a sprig of rosemary and a slice of orange!